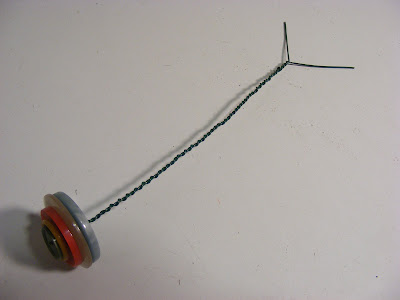
Below are step by step photos on how to make a button bouquet.
This is a great gift idea for a little girl or for that whimsical person in your life.
This is a great gift idea for a little girl or for that whimsical person in your life.

You will need wire cutters, floral wire (not the flimsy gage), needle nose pliers (not completely necessary) and of course, buttons (I love using vintage).

Take one floral wire stem and bend it in half

Choose the order in which you want your buttons to be on the stem...
I like to go ahead and stack them before I begin.

Begin with the button that will be on the top
You want to slide the wire through the holes that are on the top-facing side (in other words, the part that will show when looking down at the flower)

"Thread" it all the way to the end of the bent floral stem

Slide the rest of them down, like so. :o)

Make sure that they are nice and snug up against each other before you start to twist the wire.
Simply twist like you would a twist tie.
This is when you might want to use the needle nose pliers.
It can be difficult to get your fingers up close to the bottom of the buttons in order to tightly begin twisting (make sense? hope so)

Just keep twisting, just keep twisting, twisting...


6 comments:
Very cute!
Thanks for sharing, I love this idea. I want to make some. But I am going to wait until after the first of the year.
I have seen these before but, didn't know how to do them. Thank you for the tutorial! Merry Christmas.
I left you a message on The Floozie Site. Thanks for sharing! Loved the B&B photos
Hey, Had to come look at the tutorial..very easy peasy! Thanks :0)
Stephanie
Wonderful handmade gift!! Thanks for the tutorial!! It seems to be very easy. I will try them.
Post a Comment